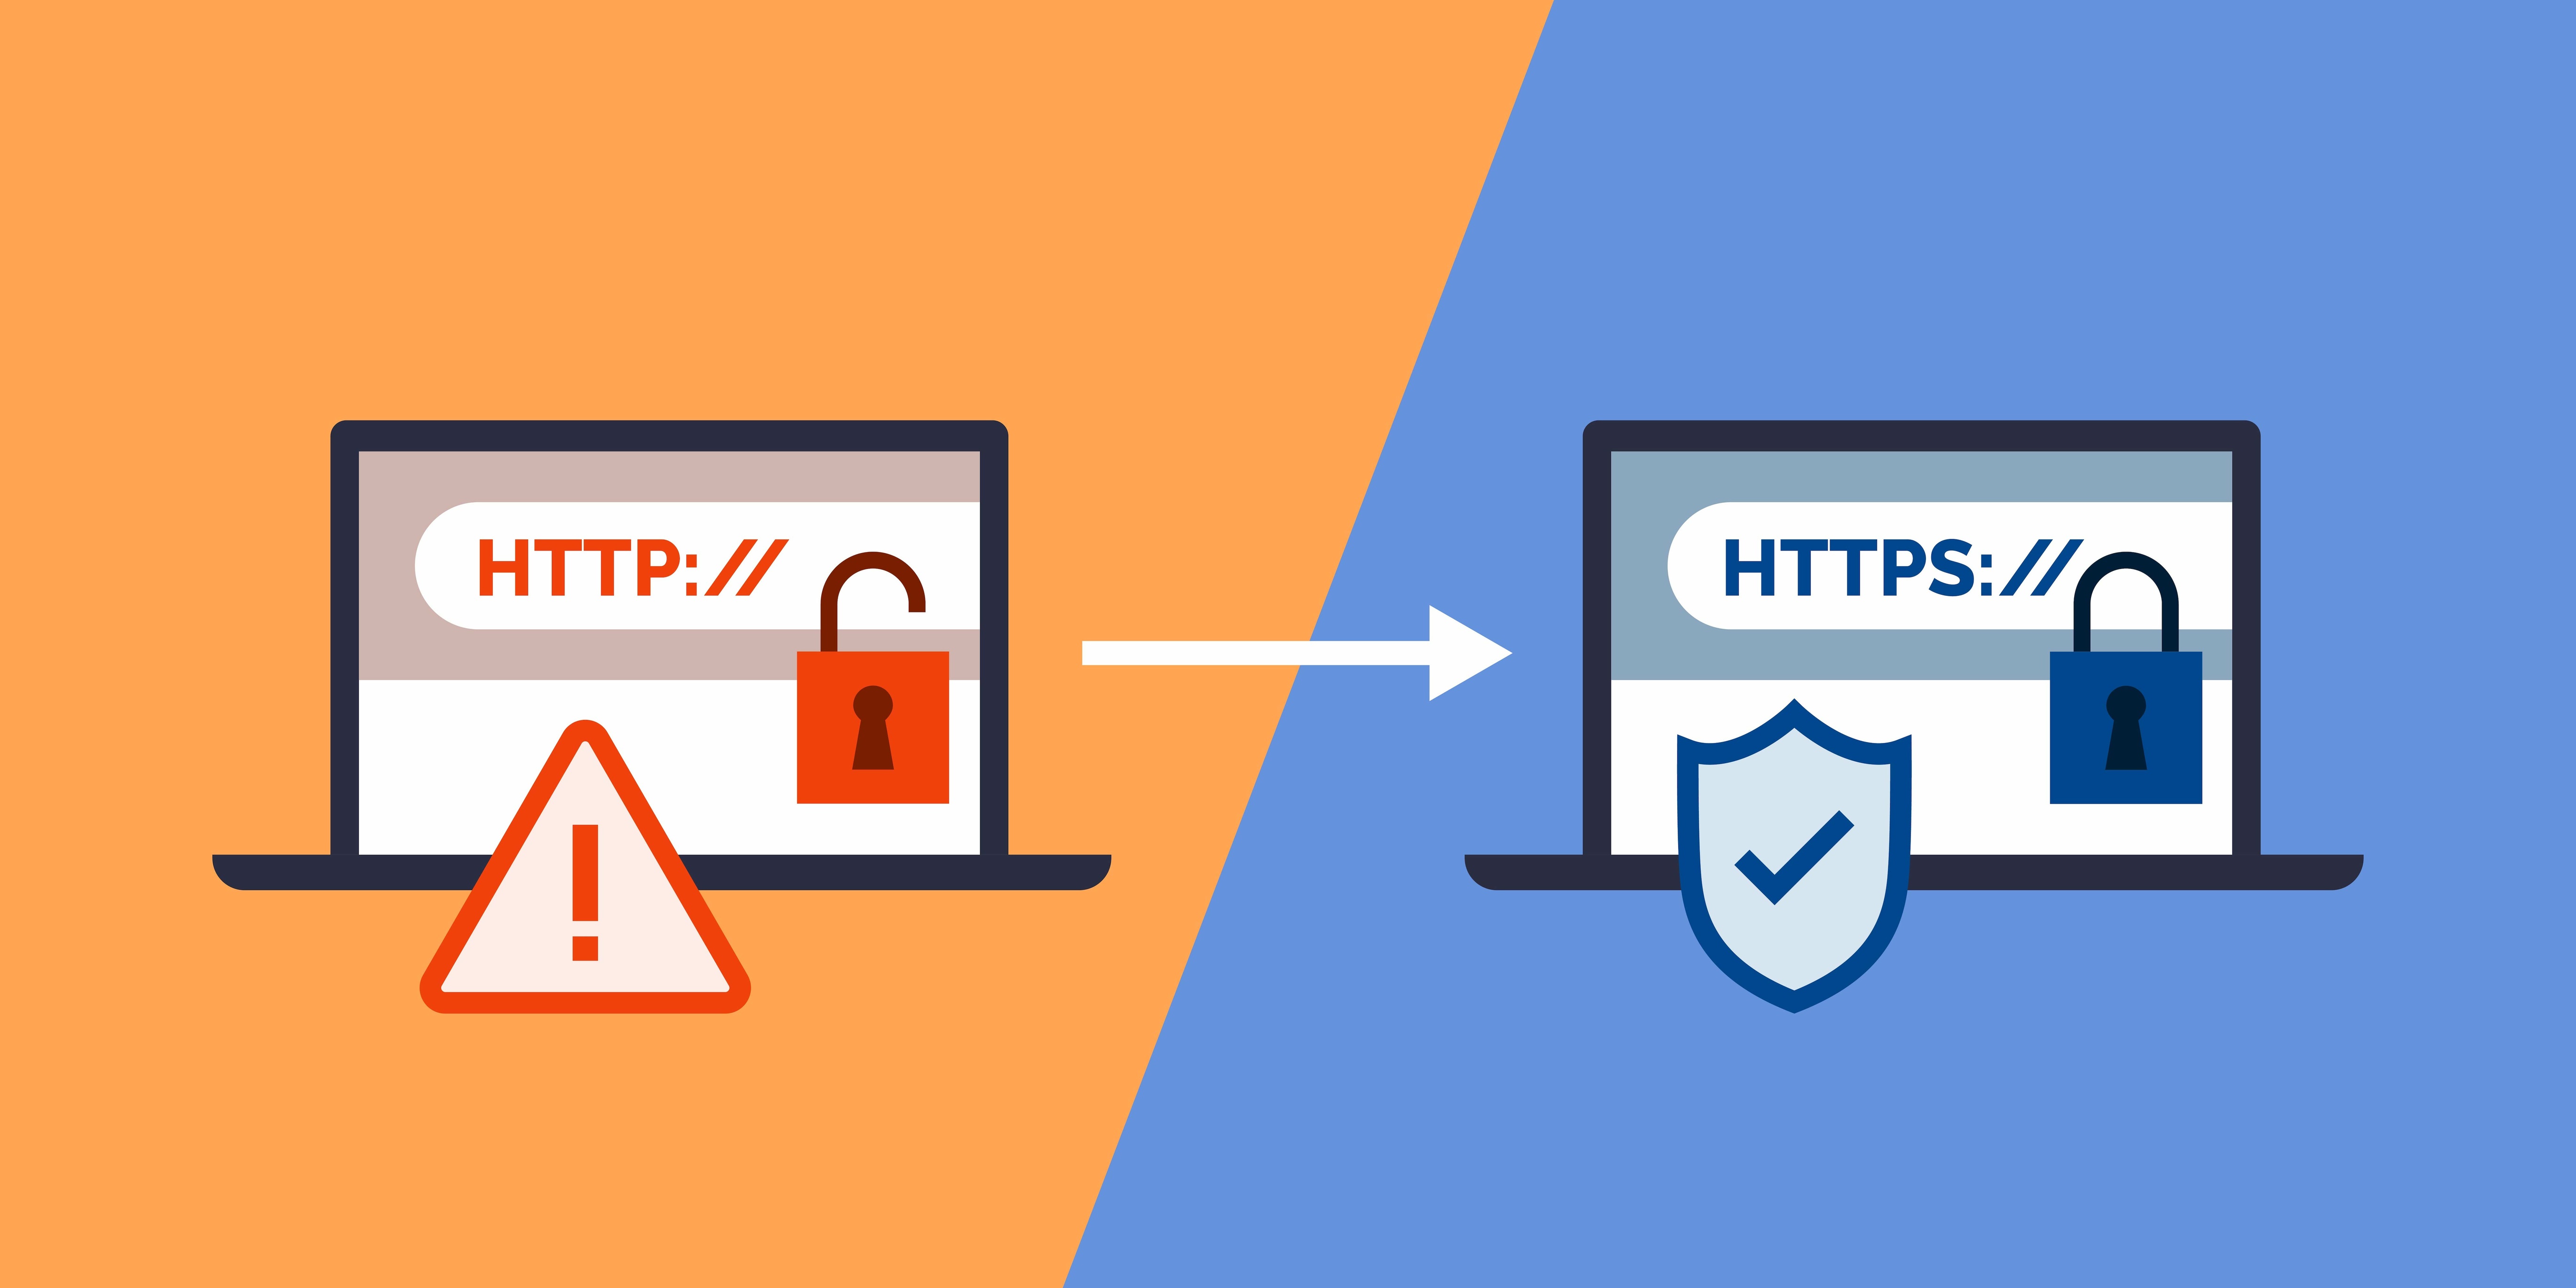
You may have heard the term "SSL" often but didn’t realize how important it is when it comes to internet security. Simply check in your browser's address bar to see whether or not it is showing a locked symbol? If it does, then you are currently on a secure website. On the other hand, if you see an unlocked padlock, that’s a sign of an insecure website. A website with a secure connection displays HTTPS (HyperText Transfer Protocol Secure) in front of its URL, which is an SSL certificate. Now that you have a basic idea of what an SSL certificate is, let us dive deeper into today’s topic and understand why and how to add an SSL certificate to your website. If you are using Amazon web hosting services, then the process is as simple as updating software. We will get into that shortly.
What is an SSL certificate and why is it important?
A Secure Socket Layer (SSL) encrypts sensitive information that is being sent across the internet to ensure that only the intended recipient can access the information. The information that we send every day on the internet passes through a network of computers to reach its destination server. Any computer (potentially a hacker) in between the sender and the recipient server can get unauthorized access to such sensitive information and data like credit card details, usernames, and passwords, if it is not encrypted with an SSL certificate. When an SSL certificate is deployed, the information becomes unreadable to everyone except the recipient server. An SSL certificate essentially protects your data from identity thieves and hackers.
Where to get an SSL certificate
Gone are the days when you needed an SSL certificate on your website only if you collected sensitive financial or personal information from your visitors. Today, it’s necessary for all websites to have an SSL certificate, whether or not they collect sensitive data. If you are using Amazon web hosting services, you can easily get hold of an SSL certificate by requesting it using AWS Certificate Manager. You can deploy it on ACM-integrated AWS resources including Elastic Load Balancing, Amazon CloudFront distributions, and APIs on Amazon API Gateway, and let AWS Certificate Manager handle certificate renewals. AWS Certificate Manager also allows you to centrally manage the certificate lifecycle and establish private certificates for internal resources. In the event that you are using other hosts, most of them also provide free SSL certificates.
Steps to install an SSL certificate on AWS
Step 1: Upload Certificate Files on IAM
Once the procurement of your SSL certificate is completed, the certificate authority will send your server certificate file via email. Upload it to the Identity Access Management (IAM) including the private key and certificate chain.
Step 2: Convert Certificate Files into .PEM Format
The certificate authority generally sends the certificate files in .crt format. All you need to do is convert those files into .PEM format.
Step 3: Upload Certificate Using AWS CLI via Command
AWS Command Line Interface (CLI) is used to upload the certificate. For that, use the following command:
"aws iam upload-server-certificate –server-certificate-name certificate_object_name -certificate-body file://public_key_certificate –private-key file://privatekey.pem –certificate-chain file://certificate_chain_file"
Remember: You can assign a customized name in place of "certificate_object_name" to make things easy to remember.
Step 4: SSL Certificate Uploaded Successfully
Following the above steps will ensure the successful uploading of your SSL certificate.
Step 5: Verify Your SSL Certificate
Once you successfully upload the certificate, verify it by running the command mentioned below:
"aws iam get-server-certificate -server-certificate-name certificate_object_name"
The output will look like the following:
"arn:aws:iam::Your_AWS_Account_ID:server-certificate/Your_Certificate_Object_Name Certificate_Object_GUID"

